TUTORIAL: Alexandra's Needle case
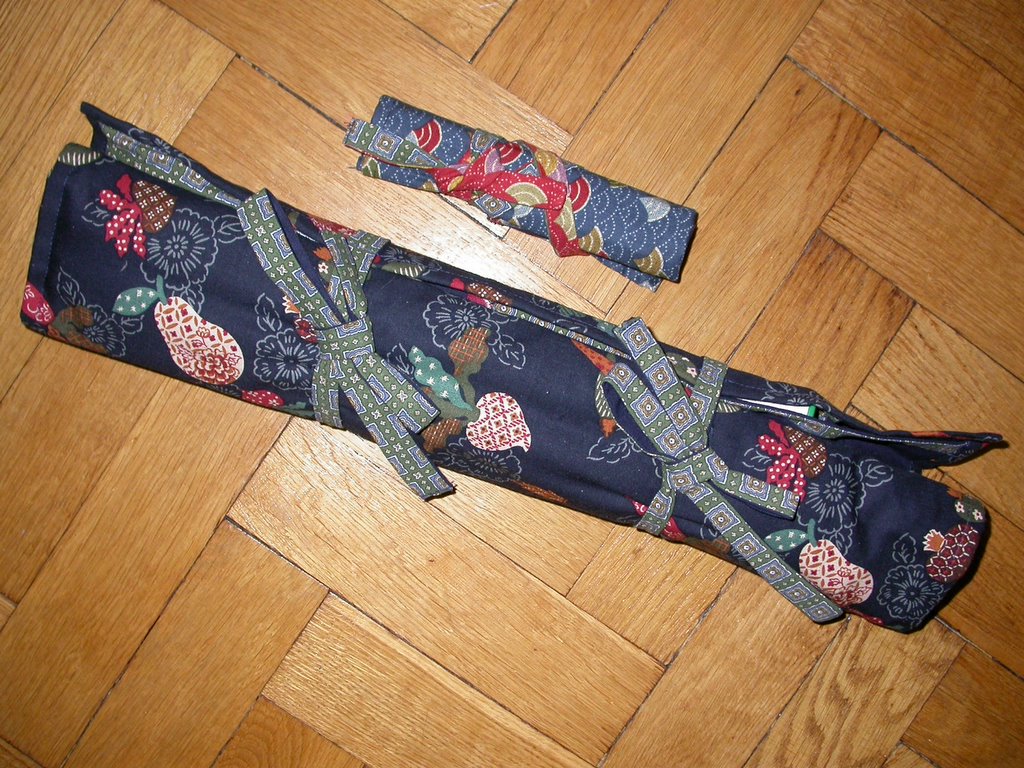
My old needle case really got me nervous! It was a quilt-one I bought several years ago, but it only had one pouch and kept my needles all mixed up. I didn't know what needle sizes I had and kept bying new needles all the time. I decided to sew a case large enaugh to host them all (and all the future wooden needles I'm going to make very soon!). So I made a case with fuor pouch strips. Larg pouches for my circular needles at the bottom, then for my DPNs, for my 35cm (14"), and for my 40cm (16"). I'm an Italian knitter, or should I say English. I hold the yarn with my left hand, holding my right needle under my right upper arm. For this reason I prefer long needles. Even my DPNs are longer than normal. I find it quite difficult to work with circulars. I'm a very SLOW knitter with circulars.
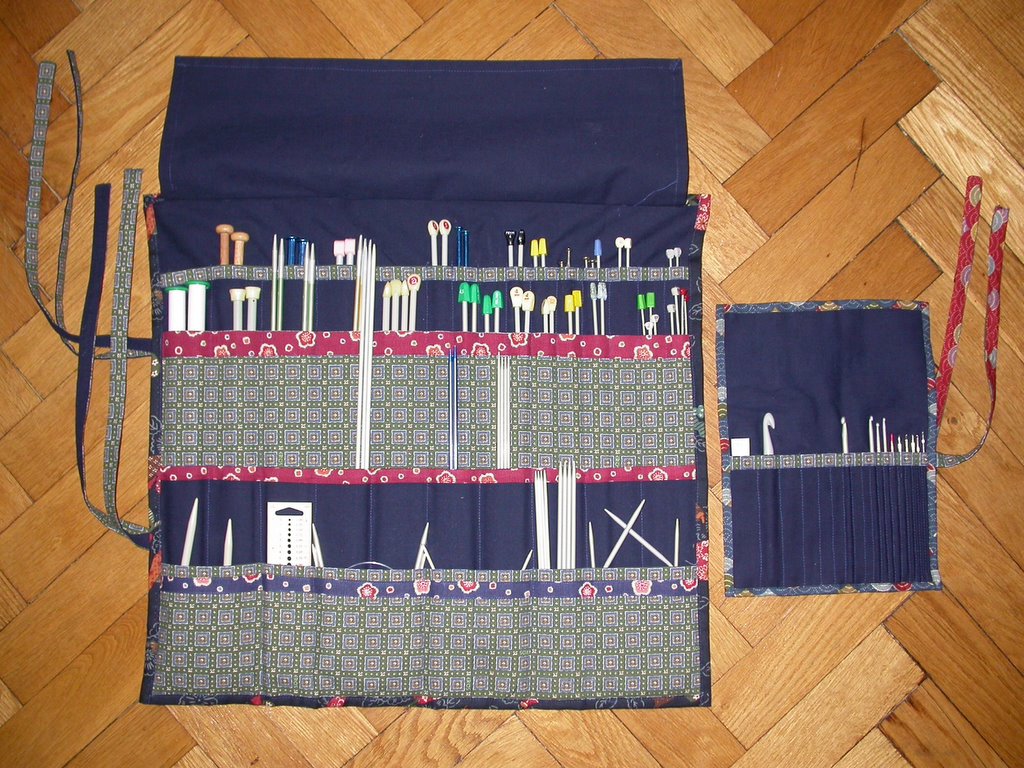
This case is 52cm (20½" wide) and 45cm (17½") high. It includes 1cm (¼") seem allowence.
It consists of 7 main parts + bindings. Chose a nice selection of fabrics. I had some Japanese fabrics I bought from Mimuclub (it doesn't seem to exist anymore...) and some Italian fabrics I bought at the market in Naples. Cut binding stripes of the width you prefer. You will bind the upper part of each pouch stripe and three edges of the "upper guard".
Outside fabric: 55x48cm (21"x18"). You might want to cut this one larger. Just in case...
Lining fabric: 52x45cm (20½"x17½")
Highest pouch stripe: 52x45cm (20½"x15 ¼")
Next highest pouch stripe: (20½"x12 ¾")
DPNs pouch stripe: 52x21cm (20½"x8 ¼")
Circulars pouch stripe: (20½"x4 ¾")
Upper guard (keeps needles from falling out of roll): 48x15cm (19"x6")
Binding: 3m (3yards 10") + 1,5m (60") for the ties
The hight of the pouch stripes are:
1) 38cm (15")
2) 32cm (12 ½")
3) 20cm (8")
4) 12cm (4½")
The width of the pouches are:
- 10cm (4") for the circular (you will have 5 pouches on the bottom row)
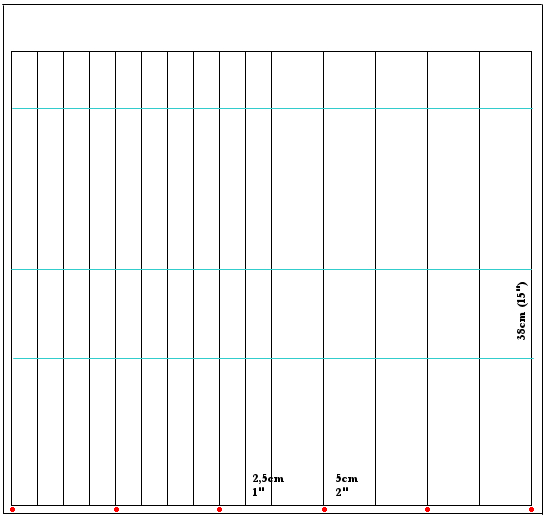
- 5x5cm and 10x2,5cm (5x2" and 10x1") for the other strips of pouches
2) On the back side of the lining draw with a marker the dividing lines as shown (the blu lines show where the pouch stripes end):
3) Pin the lining and the three highest pouch stripes together, alining them up at the bottom edges.
4) Sew on top of the dividing lines from the back side.
5) Pin the last pouch stripe (circular needles) in place, aligning at the bottom edge.
6) Sew on the dividing lines from the back side, but only from the red marks to the first blue line. You will have 10cm (4") wide pouches, large enaugh for your circulars.
7) Make 2 ties of the binding. Mine are 75cm (39") long.
8) Pin the upper guard aligning it to the top edge.
9) Pin the outside fabric to the back side of the lining leaving the seam allowance on the four edges.
10) Double fold the outside fabric to the inside of the case and pin.
11) Fold the ties in two parts and pin to the outside. They will be sewn in place when you sew the seam.
12) Sew the seem.
I find that these three sizes of pouches (2,5cm, 5cm, 10cm) are very versatile and will fit for all kind of needle sizes.

posted by alexandra at 2:29 PM
231 comments
![]()
